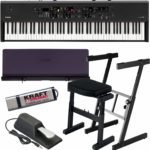


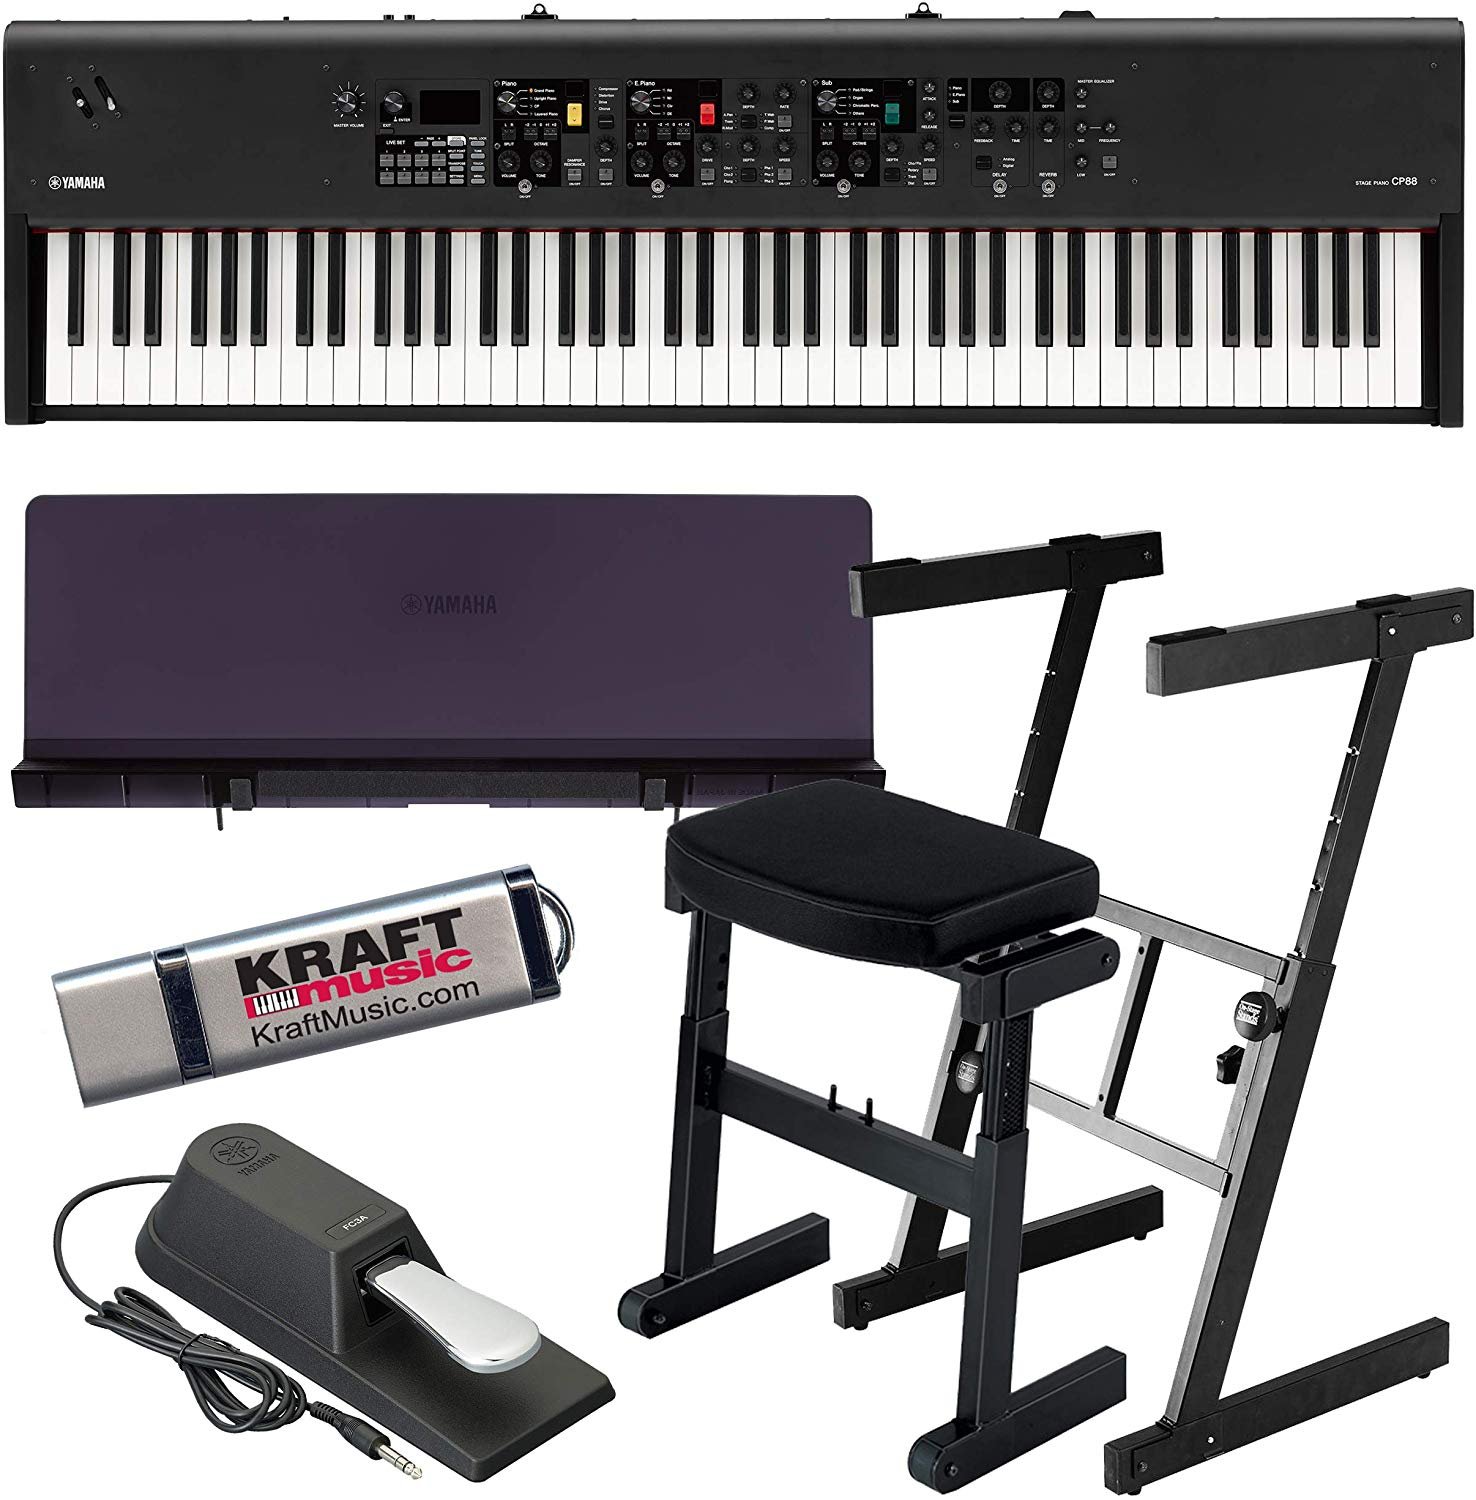
An instrument on its own is unfinished. It needs something to hold it at the right height, something to sit on, a way for the foot to reach the sustain, and a way to hear yourself without the whole house listening.
Those four parts are cheap to fix and easy to get wrong.
At A Glance: The Four Picks In One List
At A Glance
- Folding stands – get the instrument off the floor and playing in minutes.
- Padded benches – the surface that decides whether a practice session ends well.
- Pedals and headphones – the layer that turns a keyboard into a private instrument.
- Cable and power planning – the tidying that keeps a corner usable.
How We Chose These Piano Accessories
These accessories were judged on the physical job each one performs, not on the label on the box.
Four criteria came back in every setup we compared:
- Height compatibility. The part must put the keys where your elbows hang relaxed, or it teaches a raised-shoulder posture.
- Stability. A stand that shifts when you lean into a chord is worse than the thing it replaced.
- Storage. Most setups share their floor with a door or a desk, so the idle footprint matters.
- Daily friction. Anything that takes more than a minute to set up gets skipped on a busy evening.
We also weighed how each part behaves in a shared room. A bench that ends up too tall cannot be rescued with a cushion.
1. Folding Keyboard Stands: The Cheapest Way To Get Playing
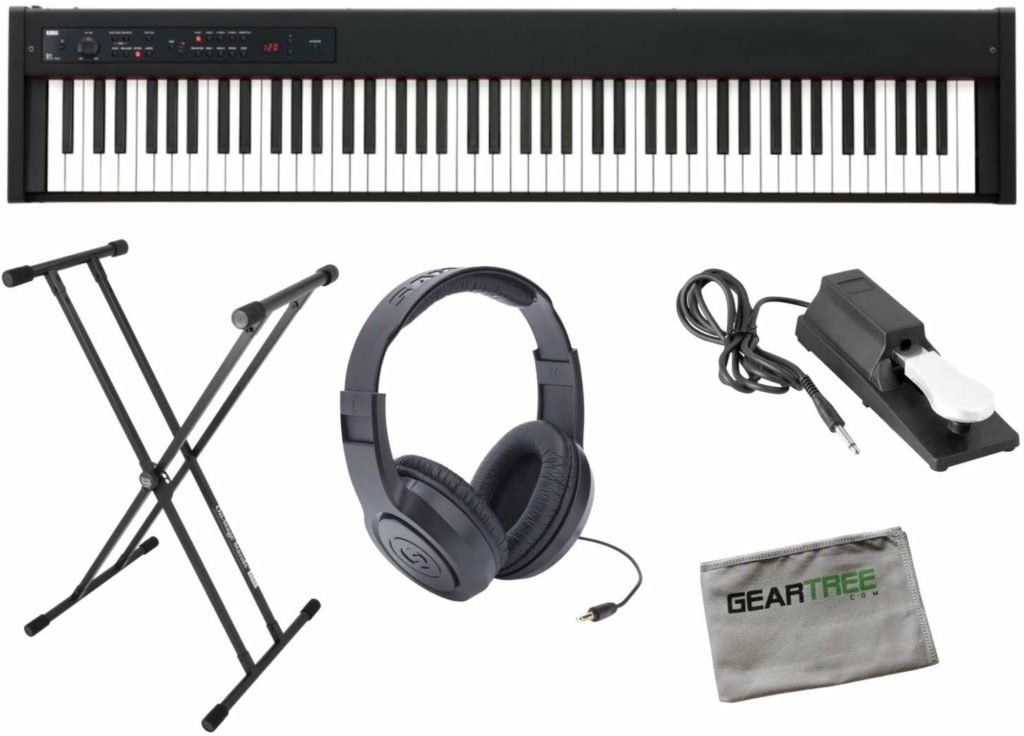
A folding stand is the fastest route from a boxed instrument to a playable one. It sets up without tools, folds flat behind a door, and lifts the keys to a height you can sit at.
The weakness is always the same joint in the middle. An X-frame hangs its load on that hinge, so the stand is only as steady as the latch and the floor below it.
A folding stand suits an instrument that disappears each evening. It does not suit anyone who leans into chords or practices standing.
Set height with your arms rather than the numbers on the legs. Let the forearms fall level and adjust until the key tops sit just under the elbows.
A strap that locks the legs open stops the slow collapse mid-session, and rubber feet keep the rig from creeping on wood.
Pros:
- Folds flat behind a door.
- Height adjusts without tools.
- Floor stays clear under your feet.
Cons:
- Hinge sway under heavier playing.
- Narrow frames feel tippy.
- No cable route built in.
2. Padded Benches: The Part You Sit On For Hours
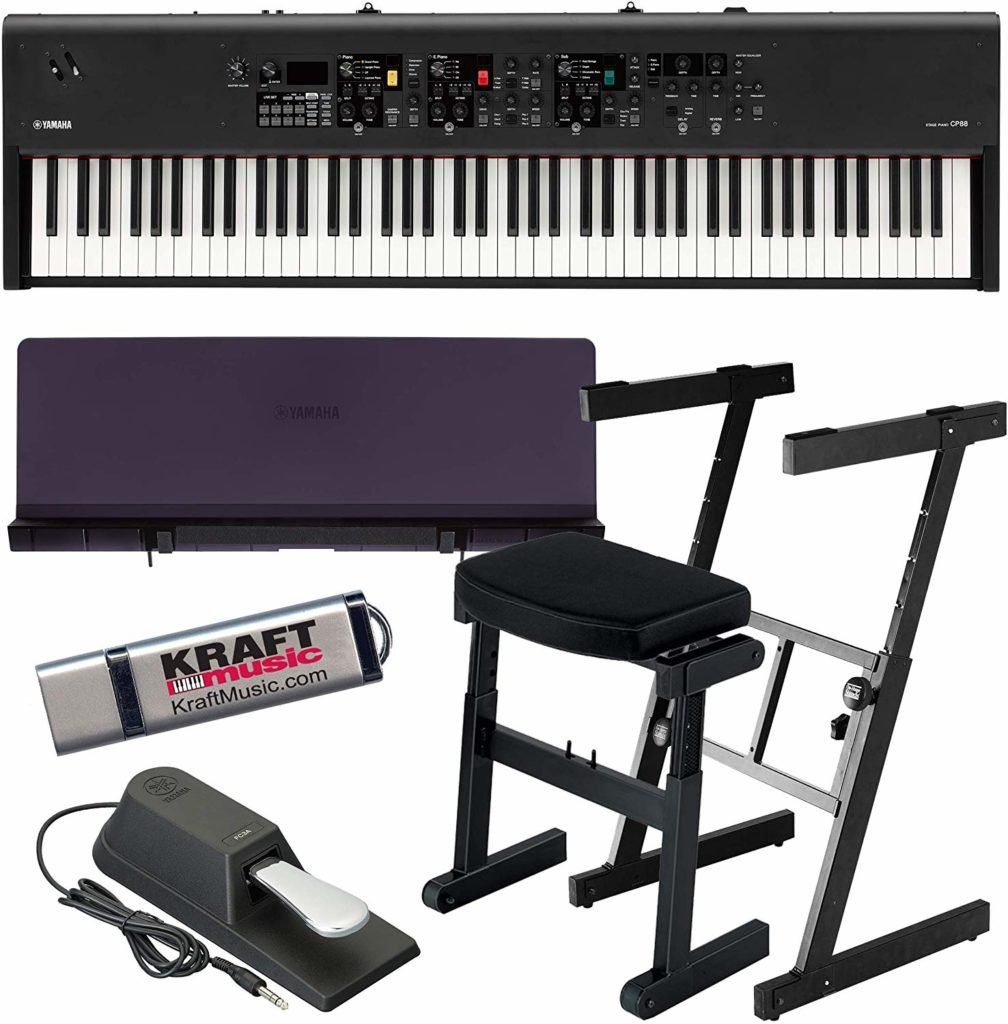
The bench is the part people replace last and notice first. A hard kitchen chair angles the hips and knees badly, and within half an hour the discomfort has moved into the shoulders.
Padding is not the main point; height is. Both feet should rest flat with the knees slightly below the hips, and the seat edge should not press into your thighs.
A thick cushion can quietly undo that height. If the seat sinks under your weight, the keys end up relatively too high and the foot starts reaching.
Storage decides the rest: a fixed bench claims the floor space of a small chair, while a folding one tucks away.
Pros:
- Holds the seat at a height the keys and pedal agree on.
- Wide padding spreads pressure over a long sitting.
- Some models keep a pedal inside.
Cons:
- Adjustable models cost more than a chair.
- Deep padding can mask a seat that is too tall.
- Fixed frames crowd a small room.
3. Pedals And Headphones: The Layer Between You And The Instrument
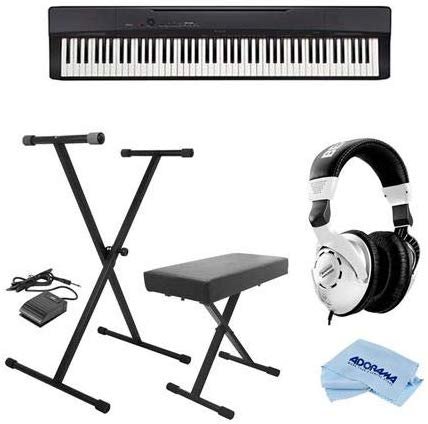
The sustain pedal is the only part your foot uses, so it works best when it stays where you left it.
Place it slightly right of centre, where the foot falls on its own, then give it something to grip. A thin mat under the setup solves the sliding pedal and the creeping stand at once.
Headphones change who else is in the room. A closed-back pair keeps sound in and room noise out, which is what you want beside a shared wall. Open designs leak.
Pros:
- Silent practice at any hour.
- A separate pedal keeps the foot in one place.
- Plug and cable choices are easy to check first.
Cons:
- Loose pedals slide on hard floors.
- Closed-back designs feel warm after a while.
- Short cables pull at the jack when you shift.
4. Power And Cable Management: The Unseen Part Of The Setup
The last part is invisible when done well and obvious when it is not. An adapter lead across a doorway is the most common reason a home instrument gets unplugged and left alone.
Run the lead along a wall rather than across the floor, and keep the power strip behind the instrument rather than beside your foot.
Leave a short loop of slack at the instrument end so a knock pulls the loop, not the plug. Tie the leads together and label the plugs when several share one strip.
Pros:
- Removes the trip hazard that makes a setup feel temporary.
- Protects the socket from constant tugging.
- Makes the corner quicker to pack away.
Cons:
- Needs a few minutes before anything is playable.
- Ties need re-checking whenever the setup moves.
- A badly placed strip can crowd the pedal foot.
How They Compare Side By Side
| Part | Best for | Watch out for | Typical gain |
|---|---|---|---|
| Folding stand | Quick setups and rooms that change | A wobbling hinge if it is not braced | A usable height without a fixed desk |
| Padded bench | Long practice and teaching sessions | Cost and storage when rooms are small | Less pressure through a long sitting |
| Pedal and headphones | Late practice and shared rooms | Cable runs across a doorway | Control without disturbing the house |
| Power and cable plan | Small rooms and shared floors | Tripping over a trailing lead | A corner that stays usable daily |
Each part solves a different problem in a home setup.
Buying Checklist: What To Confirm Before You Buy
Measure first, then buy.
- Seated elbow height. Sit on your bench and measure floor to elbow; the keys should land near that line.
- Instrument width and depth. Compare it with the stand’s span and the wall space, overhang included.
- Stand bracing. Look for a pin or strap that holds the legs open, and check the hinge has no play.
- Floor surface. Rubber feet on hardwood, pads on tile, and a thin mat if both pedal and stand creep.
- Pedal reach and grip. Confirm the pedal sits where the right foot lands and grips without a mat.
- Cable lengths and plug types. Check the adapter lead reaches the strip and that nothing crosses a walking line.
Conclusion: Which Part Of The Setup To Buy First
If you can only fix one thing this month, fix the height. A stand at the right height changes how you sit, how long you last, and how soon the instrument stops feeling like a novelty.
After height comes the bench, then the pedal and headphones, then the tidying. Buy them in that order and each purchase makes the next one more useful.
Frequently Asked Questions
How tall should a keyboard be when playing?
Sit on the bench you will actually use, let your arms hang, then bend them until the forearms are roughly level. The tops of the keys should sit just under your elbows.
Is a padded bench really necessary?
It earns its place once a session runs past half an hour. Before that, any seat at the right height is workable, which is why height matters more than padding.
What does a sustain pedal do on a digital piano?
It holds notes after you lift your fingers, so a chord rings on instead of stopping the moment you let go. A separate pedal still needs a fixed spot under your foot.
How do I stop cables from getting in the way?
Route every lead along a wall rather than across open floor, and keep the power strip behind the instrument. Leave a short loop of slack at the instrument end and bundle the leads together.
A good setup is the one you can sit down at without adjusting anything. If you are still choosing the instrument itself, start with our digital piano section, and see home tools for the small items that make a practice corner work.